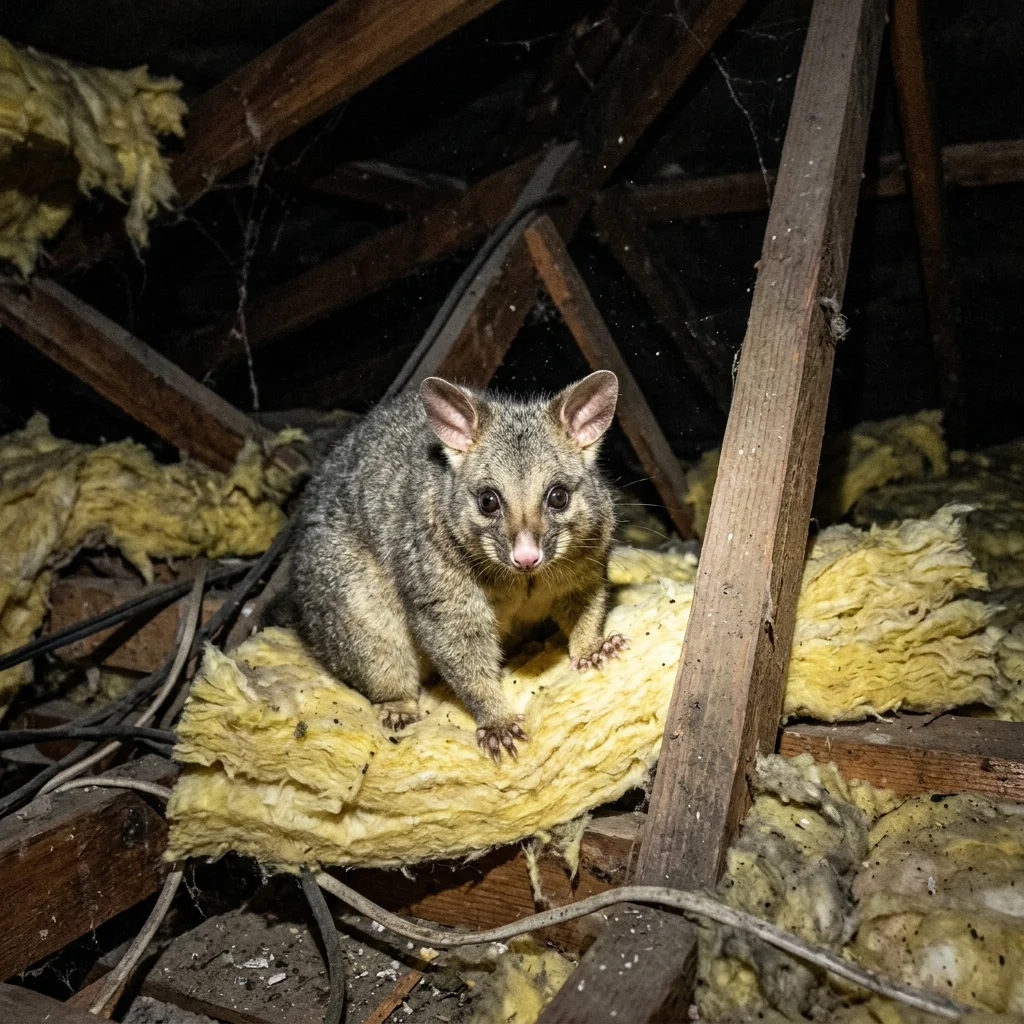
How to Remove a Possum from Your Roof
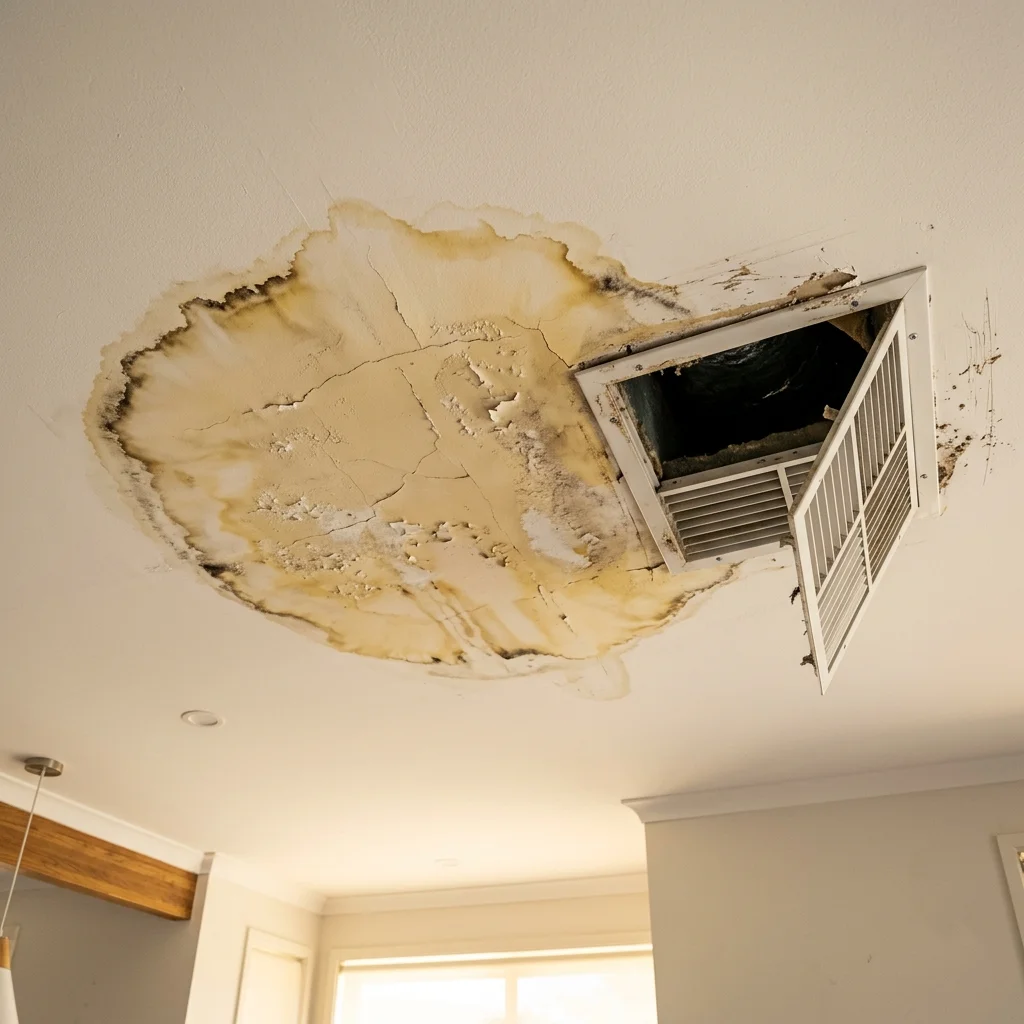
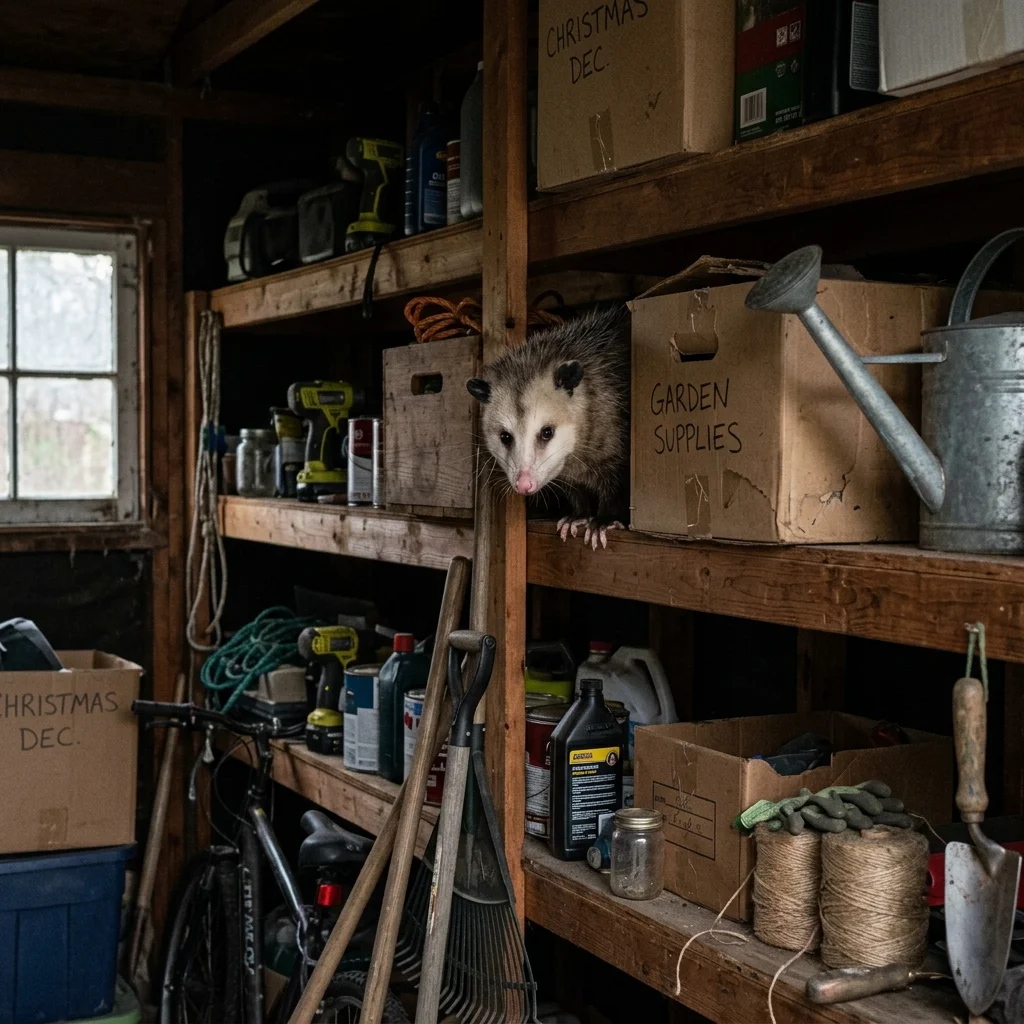
A possum in the roof is one of the most common wildlife complaints for homeowners in Australia. Their heavy scratching, loud thumping, and vocalizations can disrupt your sleep, while their droppings and urine can damage insulation and plasterboard. If you suspect a possum has moved into your roof, it is important to address the situation promptly and humanely before significant structural damage occurs.
Removing a possum from your roof requires a systematic approach. You cannot simply block the hole or set a trap without understanding the correct process. Doing so could trap the animal inside, leading to a slow death that creates severe odor issues and biohazards, or it could violate wildlife protection rules. Here is a step-by-step guide to removing a possum from your roof safely and effectively.
Step 1: Conduct a Comprehensive Roof Inspection
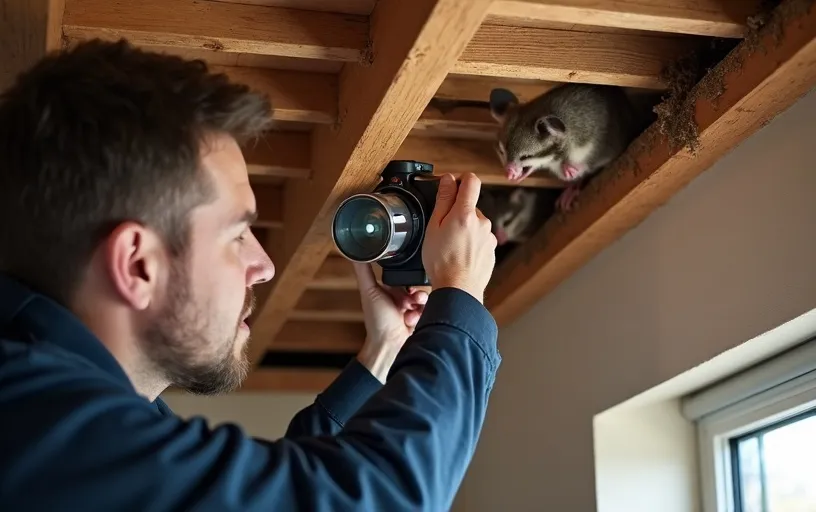
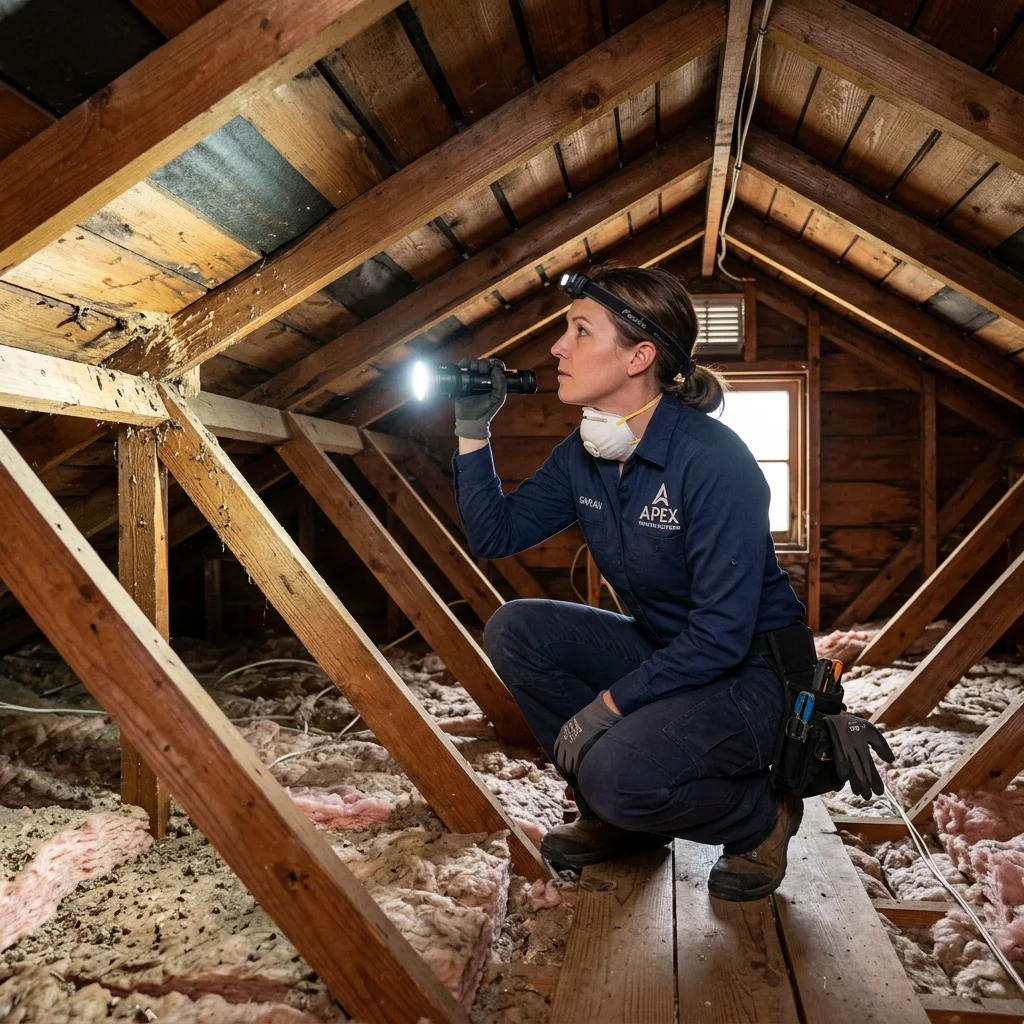
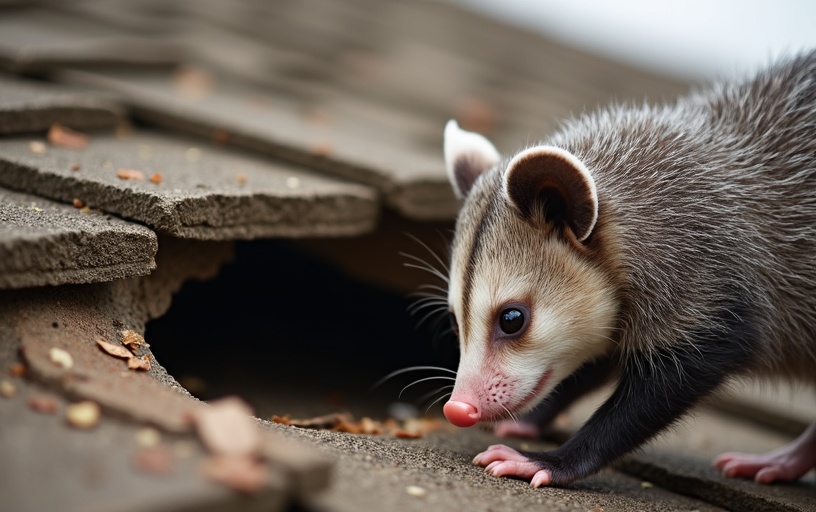
The first step is to find out how the possum is getting onto and into your roof. Possums are excellent climbers and can use overhanging tree branches, downpipes, pergolas, and power lines to access your roofline. Once on the roof, they look for any weakness in the structure. To conduct a thorough inspection, safely climb onto your roof or use a ladder to inspect the perimeter during the day. Look for the following common entry points:
- Loose or Broken Tiles: Clay or concrete tiles can shift or crack over time, leaving gaps that possums can easily push through.
- Damaged Metal Sheet Joints: On metal roofs, check the ridge capping, valleys, and flashing for gaps or warped sections.
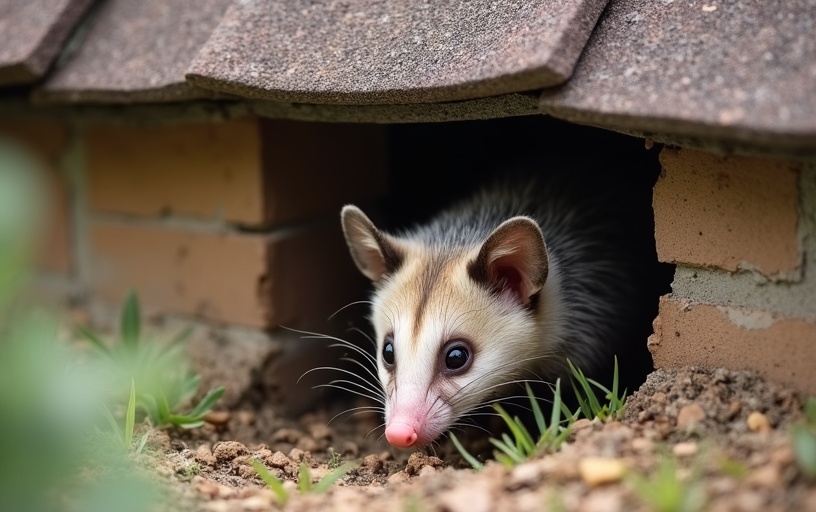
- Fascia Board and Eave Gaps: The intersection between the roof sheets and the wall is a common weak point. Look for rotten timber or missing boards.
- Unscreened Vents: Whirlybirds, chimney openings, and exhaust vents should be inspected to ensure they are covered with heavy-duty mesh.
Step 2: Map the Active Entry Points
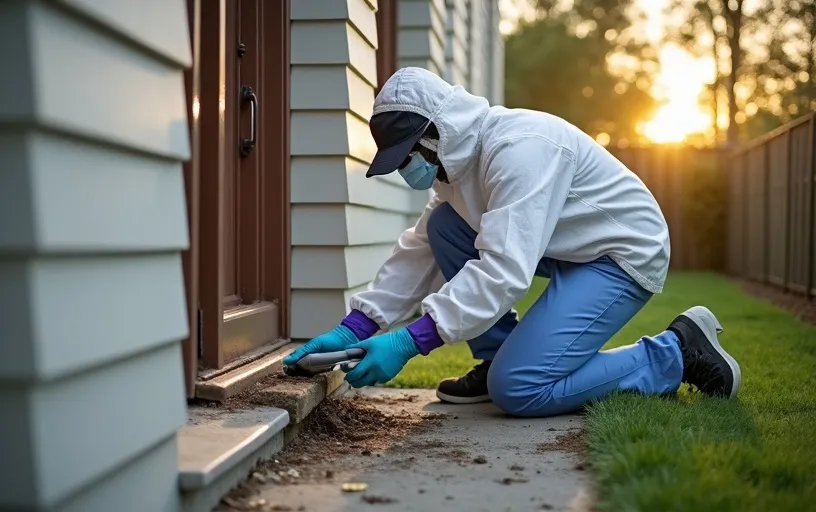
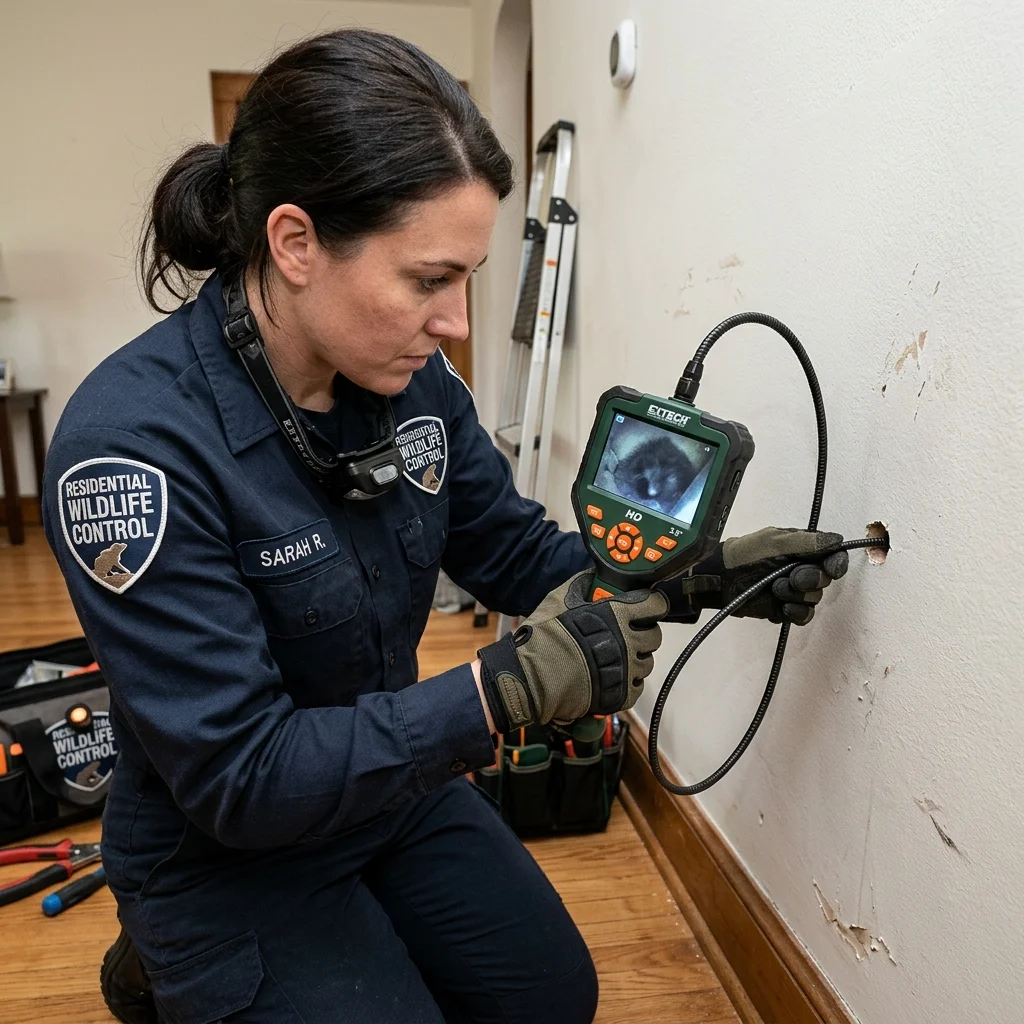
Not every gap you find will be the one the possum is currently using. To identify the active entry point, look for greasy, dark rub marks around the edges of the opening. Possums have scent glands and leave these marks as they squeeze through tight spaces. You may also find droppings nearby, which are cylindrical, dark, and about the size of a jellybean.
Another simple way to confirm if a gap is active is the paper test. Lightly stuff a crumpled piece of newspaper into the suspected hole during the day. If the paper has been pushed out by the following morning, you know an animal has used that opening to leave or enter the roof cavity. This simple diagnostic check is highly reliable and prevents you from sealing an active hole blindly.
Step 3: Block Secondary Openings
Before evicting the possum, you must seal all potential entry points except for the primary active one. If you fail to do this, the possum will simply return and use one of the alternative gaps to get back inside. Use durable, weather-resistant materials for these repairs.
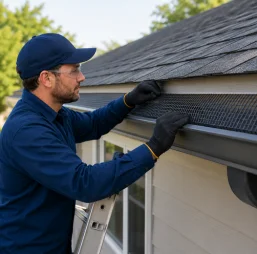
Galvanized wire mesh (with a grid size of less than 2cm) is excellent for covering vents and wrapping around pipes. Use timber boards to repair damaged fascias, and replace any broken roof tiles. Secure all patches with heavy-duty screws or nails, as possums are surprisingly strong and will try to pull at loose barriers. Avoid light plastics or silicone sealants, which can be easily clawed away by a determined animal.
Step 4: Use a One-Way Exit Door for Eviction
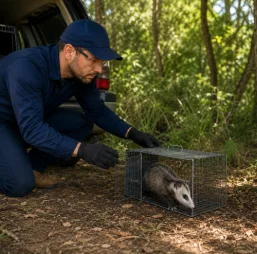
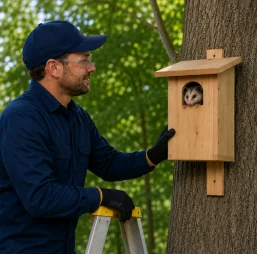
With only one entry point remaining open, you can now install a one-way exit door. This device is a temporary spring-loaded flap or plastic tunnel that allows the possum to push its way out of the roof cavity but prevents it from opening the door from the outside.
Install the door securely over the remaining entry point. Make sure there are no gaps around the edges of the device. Leave the one-way door in place for three to four days. Monitor the roof space during this time. You should hear the sound of the animal exiting at dusk, followed by silence in the subsequent nights. This confirms that the possum has exited and cannot return.
Step 5: Permanently Seal the Final Entry Point
After several days of silence, you can assume the possum has successfully left the roof space. Carefully remove the one-way door and permanently seal the opening using the same heavy-duty materials used for the other gaps.
It is a good idea to perform this final sealing work during the middle of the day. This reduces the risk of trapping a sleeping possum inside, as they are nocturnal and will be active outside the roof cavity at night, but during the day they are inactive. Always double-check the roof space visually before sealing the final gap to ensure no young or other animals are left inside.
Step 6: Maintain Your Property to Prevent Re-Entry
Removing the possum is only part of the solution; you must also make your property less appealing to prevent future invasions. Prune tree branches that overhang your roofline, keeping a clearance of at least two to three meters from the gutters. This removes the natural bridges that possums use to access your roof.
Keep your gutters clear of debris, as build-ups of leaves can mask structural gaps. Secure your rubbish bins and avoid leaving pet food outside overnight, as these food sources can attract possums to your garden, keeping them in close proximity to your home. Implementing these preventative measures is key to maintaining a pest-free home.
Handling Solar Panel Gaps
In recent years, the installation of solar panels on residential roofs in Brisbane has provided a new habitat for urban possums. The gap between the solar panels and the roof tiles is warm, sheltered, and safe from predators. Possums will often nest under solar panels and claw at the wiring, leading to system damage.
To prevent this, you should install solar panel mesh around the perimeter of your solar array. This mesh is made from galvanized steel and is attached using clips that do not damage the panels. It blocks access beneath the panels while allowing airflow and water run-off, protecting your investment from animal damage.
Detailed Tools Checklist for Roof Proofing
If you plan to perform roof repairs, prepare the following tools to ensure the repairs are durable and secure:
- Tin Snips: For cutting galvanized steel mesh to fit tightly around pipes and vents.
- Cordless Drill & Tek Screws: For fastening metal mesh and timber patches securely to the roof frame.
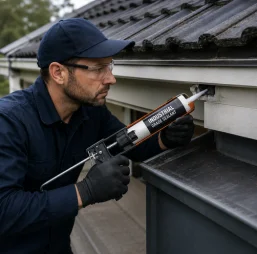
- Roofing Sealant: High-grade polyurethane sealant to waterproof the edges of repairs.
- Pointing Mortar: For securing ridge capping tiles that have come loose or lost their bedding.
Important Safety Warning
Working on roofs carries significant risks of falls and contact with electrical wiring. Never enter a roof space or climb a ladder without proper safety gear and training. Ensure the mains power is switched off before conducting any work near ceiling wiring. If the roof is steep or difficult to access, contact a professional service provider to handle the exclusion safely.